表单处理 | 自在学表单处理
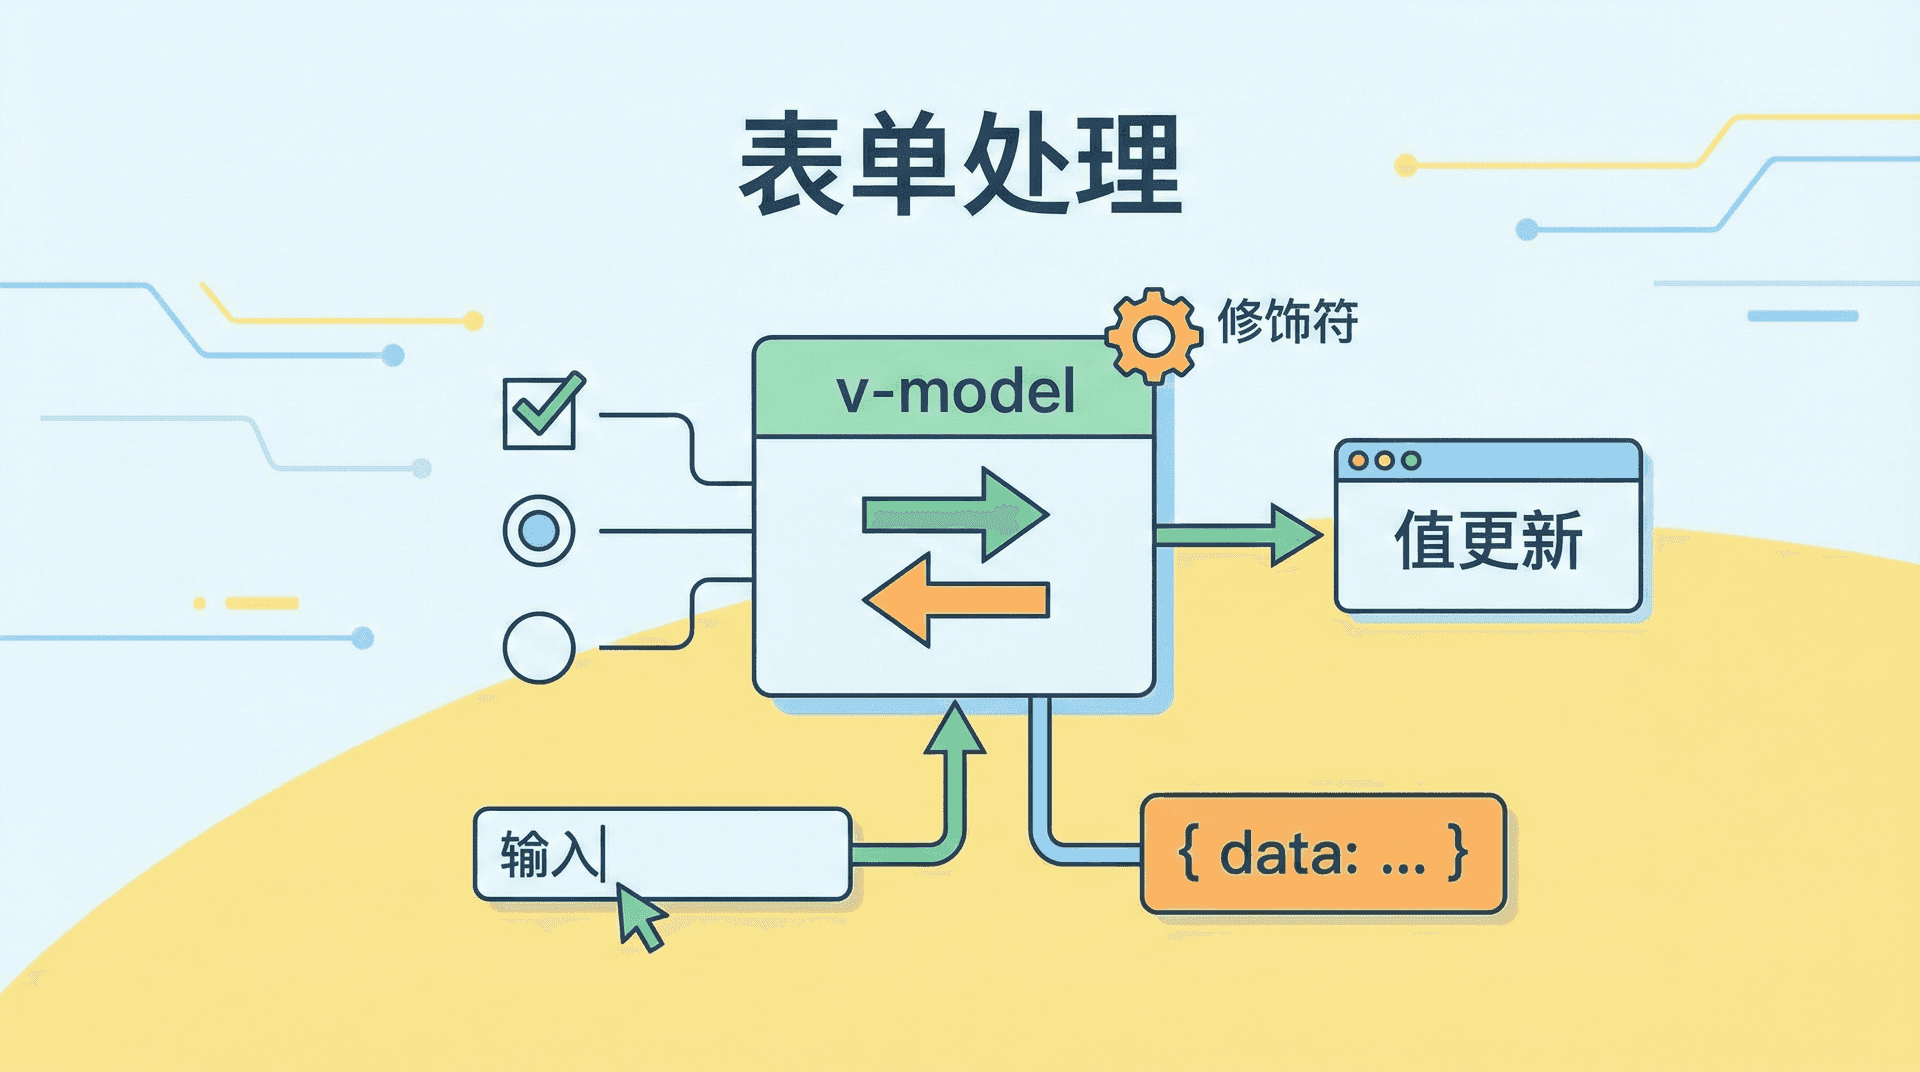
表单是Web应用中最常见的交互元素之一。在Vue中,我们使用v-model指令来实现表单元素的双向数据绑定。v-model会自动处理表单元素的输入事件和值更新,让我们可以轻松地处理各种表单输入。
在这一章中,我们将深入学习v-model的用法,了解它如何与不同的表单元素配合使用,以及如何使用修饰符来优化表单处理。这些知识将帮助你构建出功能完善、用户体验良好的表单。

v-model
v-model是Vue提供的一个语法糖,它结合了属性绑定和事件监听,实现了双向数据绑定。对于表单元素,v-model会根据元素类型自动选择正确的方式来处理数据绑定。
让我们从一个最简单的例子开始:
<div id="app">
<input v-model="message" placeholder="输入内容">
<p>你输入的内容是:{{ message }}</p>
</div>
<script>
const { createApp, ref } = Vue;
const app = createApp({
setup() {
const message = ref('');
return {
message
};
}
});
app.mount('#app');
</script>
在这个例子中,我们使用v-model="message"将输入框与message数据绑定。当你在输入框中输入内容时,message的值会自动更新,页面上的显示也会同步更新。这就是双向数据绑定的效果。
v-model实际上是一个语法糖,它等价于:
<input
:value="message"
@input="message = $event.target.value"
>
v-model会自动处理value属性的绑定和input事件的监听,让我们不需要手动编写这些代码。
文本输入框
对于文本输入框(<input type="text">),v-model会绑定value属性并监听input事件:
<div id="app">
<input v-model="username" type="text" placeholder="用户名">
<p>用户名:{{ username }}</p>
</div>
<script>
const { createApp, ref } = Vue;
const app =
这是最常见的用法。当用户在输入框中输入时,username的值会实时更新。
多行文本输入框
对于多行文本输入框(<textarea>),v-model的用法完全相同:
<div id="app">
<textarea v-model="description" placeholder="输入描述"></textarea>
<p>描述:{{ description }}</p>
</div>
<script>
const { createApp, ref } = Vue;
const app = createApp
注意,在<textarea>中使用v-model时,不要在标签内放置初始内容。初始内容应该通过v-model绑定的数据来设置:
<!-- 错误的方式 -->
<textarea v-model="description">初始内容</textarea>
<!-- 正确的方式 -->
<textarea v-model="description"></textarea>
复选框
对于单个复选框来说,使用v-model可以将复选框的选中状态与一个布尔类型的数据变量进行双向绑定。
当复选框被勾选时,绑定的变量值为true,否则为false。这样,你只需要关注变量的值,无需手动监听事件或操作 DOM,例如:
<div id="app">
<input type="checkbox" v-model="agree" id="agree">
<label for="agree">我同意条款</label>
<p>同意状态:{{ agree }}</p>
</div>
<script>
const { createApp, ref
当复选框被选中时,agree的值为true;未选中时,值为false。
对于多个复选框,我们可以将它们绑定到同一个数组:
<div id="app">
<input type="checkbox" v-model="hobbies" value="读书" id="reading">
<label for="reading">读书</label>
<input type="checkbox" v-model="hobbies" value="编程" id=
在这个例子中,hobbies是一个数组。当复选框被选中时,它的value值会被添加到数组中;取消选中时,会从数组中移除。
单选框
对于单选框(radio),v-model会绑定到选中的值:
<div id="app">
<input type="radio" v-model="gender" value="male" id="male">
<label for="male">男</label>
<input type="radio" v-model="gender" value="female" id=
当用户选择某个单选框时,gender的值会被设置为该单选框的value值。
下拉选择框
对于下拉选择框(<select>),可以通过v-model实现数据的双向绑定。v-model会将所选中选项的value赋值给指定的变量。当用户切换选项时,该变量会自动更新,反之修改变量也会同步到界面显示。例如:
- 当
<select>没有multiple属性时,只能选择一个值,对应的变量为字符串或数字。
- 当
<select>添加multiple属性时,可以多选,v-model对应的变量需要是一个数组,数组中包含所有被选中选项的value。
这样可以很方便地获取用户选择的内容,并根据选中的值进行相应的处理。
<div id="app">
<select v-model="selectedCity">
<option value="">请选择城市</option>
<option value="beijing">北京</option>
<option value="shanghai">上海</option>
<option value="guangzhou">广州</
当用户选择某个选项时,selectedCity的值会被设置为该选项的value值。
对于多选下拉框,我们可以使用multiple属性,并将v-model绑定到数组。当用户选择多个选项时,selectedCities的值会是一个数组,数组中包含所有被选中选项的value。例如:
<div id="app">
<select v-model="selectedCities" multiple>
<option value="beijing">北京</option>
<option value="shanghai">上海</option>
<option value="guangzhou">广州</option>
</select>
<p
v-model修饰符
Vue为v-model提供了三个修饰符:.lazy、.number和.trim。
.lazy修饰符
默认情况下,v-model在每次input事件触发时同步数据。使用.lazy修饰符后,数据同步会在change事件时进行(对于输入框,change事件在失去焦点时触发):
<div id="app">
<input v-model.lazy="message" placeholder="输入内容(失去焦点时更新)">
<p>你输入的内容是:{{ message }}</p>
</div>
<script>
const { createApp, ref } = Vue;
const app = createApp({
使用.lazy修饰符后,message的值只会在输入框失去焦点时更新,而不是每次输入时都更新。这在某些场景下可以提高性能,减少不必要的更新。
.number修饰符
.number修饰符用于将输入值自动转换为数字:
<div id="app">
<input v-model.number="age" type="number" placeholder="输入年龄">
<p>年龄类型:{{ typeof age }}</p>
<p>年龄值:{{ age }}</p>
</div>
<script>
const { createApp, ref } =
使用.number修饰符后,如果输入值可以转换为数字,age会是数字类型;如果不能转换,则保持原值。这对于需要数字输入的场景很有用。
.trim修饰符
.trim修饰符用于自动去除输入值首尾的空白字符:
<div id="app">
<input v-model.trim="username" placeholder="输入用户名(自动去除首尾空格)">
<p>用户名长度:{{ username.length }}</p>
<p>用户名:{{ username }}</p>
</div>
<script>
const { createApp, ref } = Vue;
使用.trim修饰符后,输入值首尾的空白字符会被自动去除。这对于用户名、邮箱等输入很有用,可以避免用户意外输入空格导致的问题。
修饰符可以组合使用:
<input v-model.lazy.trim="username" placeholder="输入用户名">
综合表单
下面,我们将通过一个详细的综合示例来巩固和应用上面介绍的各种 v-model 修饰符用法。我们将手把手实现一个带有用户名、邮箱、年龄、性别和爱好等字段的用户注册表单,表单中将合理搭配使用 .trim、.number 等修饰符,并演示如何收集和处理用户输入的数据,帮助你全面理解 v-model 修饰符在实际开发中的应用场景和效果。
<!DOCTYPE html>
<html lang="zh-CN">
<head>
<meta charset="UTF-8">
<meta name="viewport" content="width=device-width, initial-scale=1.0">
<title>表单处理示例</title>
<script src="https://unpkg.com/vue@3/dist/vue.global.js"></script>
在这个例子中,我们使用了各种表单元素和v-model修饰符。用户名和邮箱使用.trim修饰符去除首尾空格,年龄使用.number修饰符转换为数字,个人简介也使用.trim修饰符。
在实际应用中,我们通常需要对表单进行验证。虽然Vue本身不提供验证功能,但我们可以很容易地实现基本的验证逻辑:
<div id="app">
<form @submit.prevent="handleSubmit">
<div>
<label>用户名:</label>
<input
v-model.trim="form.username"
type="text"
placeholder="输入用户名(至少3个字符)"
>
<span v-if="errors.username"
在这个例子中,我们创建了一个errors对象来存储验证错误信息。validate函数检查表单数据,如果验证失败,设置相应的错误信息。在模板中,我们使用v-if来条件性地显示错误信息。
下一步
这节课我们简单的学习了Vue的表单处理,了解了一些v-model指令的用法,学习了它如何与不同的表单元素配合使用,以及如何使用修饰符来优化表单处理。
表单处理是Web应用开发的重要组成部分,掌握了这些知识后,你就能构建出功能完善、用户体验良好的表单。
在下一个部分,我们要学习Vue中的计算属性和侦听器,了解如何使用computed、watch和watchEffect来处理复杂的数据逻辑。
createApp
({
setup() {
const username = ref('');
return {
username
};
}
});
app.mount('#app');
</script>
({
setup() {
const description = ref('');
return {
description
};
}
});
app.mount('#app');
</script>
}
=
Vue;
const app = createApp({
setup() {
const agree = ref(false);
return {
agree
};
}
});
app.mount('#app');
</script>
"coding"
>
<label for="coding">编程</label>
<input type="checkbox" v-model="hobbies" value="运动" id="sports">
<label for="sports">运动</label>
<p>选中的爱好:{{ hobbies }}</p>
</div>
<script>
const { createApp, ref } = Vue;
const app = createApp({
setup() {
const hobbies = ref([]);
return {
hobbies
};
}
});
app.mount('#app');
</script>
"female"
>
<label for="female">女</label>
<p>选中的性别:{{ gender }}</p>
</div>
<script>
const { createApp, ref } = Vue;
const app = createApp({
setup() {
const gender = ref('');
return {
gender
};
}
});
app.mount('#app');
</script>
option
>
</select>
<p>选中的城市:{{ selectedCity }}</p>
</div>
<script>
const { createApp, ref } = Vue;
const app = createApp({
setup() {
const selectedCity = ref('');
return {
selectedCity
};
}
});
app.mount('#app');
</script>
>选中的城市:{{ selectedCities }}</
p
>
</div>
<script>
const { createApp, ref } = Vue;
const app = createApp({
setup() {
const selectedCities = ref([]);
return {
selectedCities
};
}
});
app.mount('#app');
</script>
setup
() {
const message = ref('');
return {
message
};
}
});
app.mount('#app');
</script>
Vue;
const app = createApp({
setup() {
const age = ref(null);
return {
age
};
}
});
app.mount('#app');
</script>
const
app
=
createApp
({
setup() {
const username = ref('');
return {
username
};
}
});
app.mount('#app');
</script>
<style>
body {
font-family: Arial, sans-serif;
max-width: 600px;
margin: 50px auto;
padding: 20px;
}
form div {
margin-bottom: 15px;
}
label {
display: block;
margin-bottom: 5px;
font-weight: bold;
}
input[type="text"],
input[type="email"],
input[type="number"],
select,
textarea {
width: 100%;
padding: 8px;
border: 1px solid #ddd;
border-radius: 4px;
}
input[type="radio"],
input[type="checkbox"] {
width: auto;
margin-right: 5px;
}
button {
padding: 10px 20px;
background-color: #42b983;
color: white;
border: none;
border-radius: 4px;
cursor: pointer;
}
.result {
margin-top: 20px;
padding: 15px;
background-color: #f5f5f5;
border-radius: 4px;
}
pre {
background-color: #fff;
padding: 10px;
border-radius: 4px;
overflow-x: auto;
}
</style>
</head>
<body>
<div id="app">
<h2>用户注册</h2>
<form @submit.prevent="handleSubmit">
<div>
<label>用户名:</label>
<input
v-model.trim="form.username"
type="text"
placeholder="输入用户名"
>
</div>
<div>
<label>邮箱:</label>
<input
v-model.trim="form.email"
type="email"
placeholder="输入邮箱"
>
</div>
<div>
<label>年龄:</label>
<input
v-model.number="form.age"
type="number"
placeholder="输入年龄"
>
</div>
<div>
<label>性别:</label>
<input type="radio" v-model="form.gender" value="male" id="male">
<label for="male" style="display: inline; font-weight: normal;">男</label>
<input type="radio" v-model="form.gender" value="female" id="female">
<label for="female" style="display: inline; font-weight: normal;">女</label>
</div>
<div>
<label>爱好:</label>
<input type="checkbox" v-model="form.hobbies" value="读书" id="reading">
<label for="reading" style="display: inline; font-weight: normal;">读书</label>
<input type="checkbox" v-model="form.hobbies" value="编程" id="coding">
<label for="coding" style="display: inline; font-weight: normal;">编程</label>
<input type="checkbox" v-model="form.hobbies" value="运动" id="sports">
<label for="sports" style="display: inline; font-weight: normal;">运动</label>
</div>
<div>
<label>城市:</label>
<select v-model="form.city">
<option value="">请选择城市</option>
<option value="beijing">北京</option>
<option value="shanghai">上海</option>
<option value="guangzhou">广州</option>
</select>
</div>
<div>
<label>个人简介:</label>
<textarea v-model.trim="form.bio" placeholder="输入个人简介"></textarea>
</div>
<div>
<input type="checkbox" v-model="form.agree" id="agree">
<label for="agree" style="display: inline; font-weight: normal;">我同意条款</label>
</div>
<button type="submit">提交</button>
</form>
<div v-if="submitted" class="result">
<h3>提交的数据:</h3>
<pre>{{ JSON.stringify(form, null, 2) }}</pre>
</div>
</div>
<script>
const { createApp, ref } = Vue;
const app = createApp({
setup() {
const form = ref({
username: '',
email: '',
age: null,
gender: '',
hobbies: [],
city: '',
bio: '',
agree: false
});
const submitted = ref(false);
const handleSubmit = () => {
if (form.value.agree) {
submitted.value = true;
console.log('提交的表单数据:', form.value);
} else {
alert('请先同意条款');
}
};
return {
form,
submitted,
handleSubmit
};
}
});
app.mount('#app');
</script>
</body>
</html>
class
=
"error"
>{{ errors.username }}</
span
>
</div>
<div>
<label>邮箱:</label>
<input
v-model.trim="form.email"
type="email"
placeholder="输入邮箱"
>
<span v-if="errors.email" class="error">{{ errors.email }}</span>
</div>
<button type="submit">提交</button>
</form>
</div>
<script>
const { createApp, ref, reactive } = Vue;
const app = createApp({
setup() {
const form = reactive({
username: '',
email: ''
});
const errors = reactive({
username: '',
email: ''
});
const validate = () => {
let isValid = true;
// 验证用户名
if (form.username.length < 3) {
errors.username = '用户名至少需要3个字符';
isValid = false;
} else {
errors.username = '';
}
// 验证邮箱
const emailRegex = /^[^\s@]+@[^\s@]+\.[^\s@]+$/;
if (!emailRegex.test(form.email)) {
errors.email = '请输入有效的邮箱地址';
isValid = false;
} else {
errors.email = '';
}
return isValid;
};
const handleSubmit = () => {
if (validate()) {
alert('表单验证通过!');
}
};
return {
form,
errors,
handleSubmit
};
}
});
app.mount('#app');
</script>